Open topic with navigation
Annotations
Annotations enable activity areas to be annotated with schedule information.
Annotations are configured using rules (templates) that can be applied to all, or a subset of, activity areas.
To create an annotation rule:
-
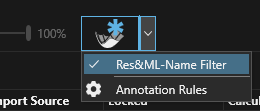
Go to Activity Areas tab > Annotations > click the down arrow > Annotation Rules.
- In the panel that opens, click
 to create a new Annotation rule.
- Rule Name - The name of the rule
- Annotation Expression - click the fx button to open the expression builder to construct a new rule.
- Filter - click the fx button to open the filter builder to restrict the areas to be annotated
- Style - click the
 icon to open the styling window for the rule.
 - Remove rule - click the red icon to remove a rule.
- Save - click OK button to save changes.
- Select the newly created rule name from the Annotation Rule icon dropdown.
- Visualise the selected rules annotations by toggling the Activity Area Annotations icon. The icon colour is blue if annotations are enabled, grey if disabled.
Annotation Expression builder
The annotation templates include an Expression Editor and Activity Fields to create text based on the context of the activity area.
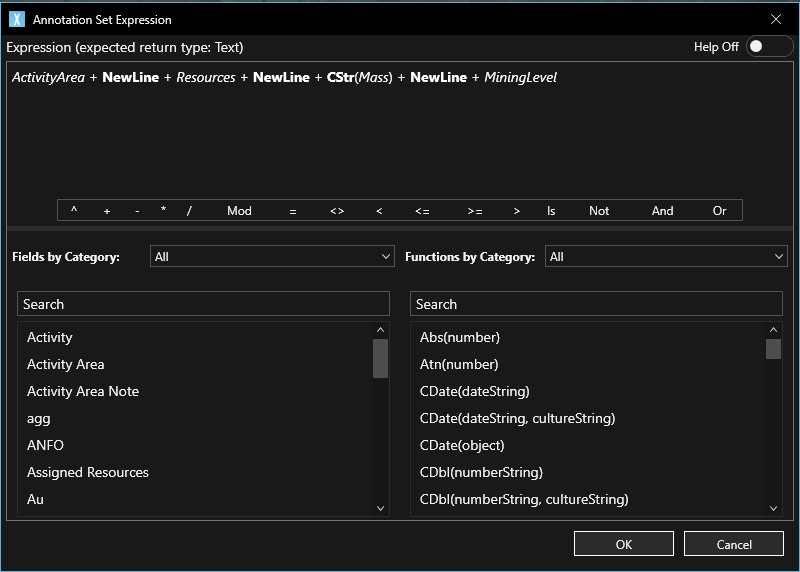
To support multilne layout, a NewLine constant is available. A NewLine is also created if it occurs within the quoted text. For example, this expression:

will result in an annotation like this:
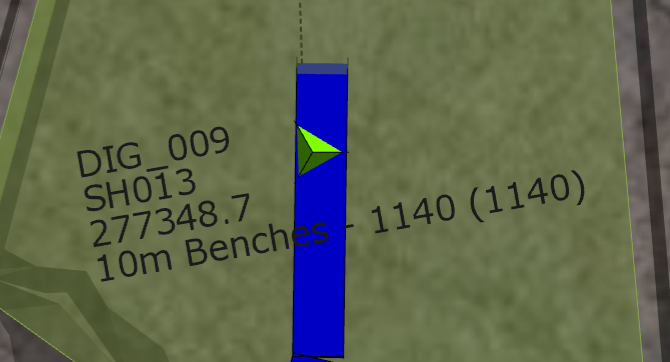
Mass: 4565t
Volume: 2075
Annotation style
Click to open the style window of a rule.
The style of the annotation rule text can be set in the Text section of Annotation Style window.
Appearance - The reference point for text box alignment and rotation angle is the centroid of the activity area.
Shown below is an annotation with a Centre Horizontal and Middle Vertical alignment with a 10deg rotation angle.
Scale with Zoom Level
Yes - The annotation text will remain anchored to the activity area centroid and scale with the zoom level of the scene to maintain the text size relative to the activity area.
No - The annotation text does not scale with the scene zoom level and remains at a fixed size. A side effect of this setting is the text remains at the initial plan view orientation (the text orientation does not change as the scene is rotated).