Activity areas can be exported to a specific file type. The result is a collection of solids representing the shape of each activity area which could be imported into other packages. The configuration dictates the detail in the export, controlling how shapes are derived and the format and structure for saving the exported files.
Configuration options include:
Whether the activity areas are exported in their designed/drawn, reserved, or scheduled states.
Whether solids, polygonal roofs, and/or polygonal floors are derived from the activity areas.
The naming convention of each exported file (or layer), the file location, and the file type.
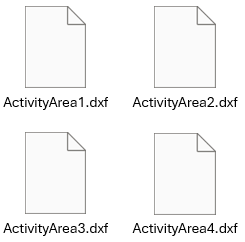
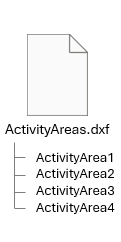
Whether the activity areas are exported as individual files – or saved as individual layers within a single file.
Scheduled activity areas reflect the mining progress at a certain point in the schedule. This export indicates the mining that has occurred and the shape of the extracted portions within a timeframe defined by a range of periods. This export excludes the portions that are still unscheduled.
Exported reserved activity areas. You can derive solids or a combination of roof and floor polygons.
In Client, go to Activity Areas tab, then click Export the activity areas  to export all activity areas.
|
Data Type |
|||
|
Activity Areas |
Filters the activity areas included in the export.
|
||
|
Spatial Data To Export |
Activity areas are associated with several types of geometries. They reflect the shape of the activity area at certain points of the schedule configuration, from drawing/designing, reserving to derive solids, and scheduling. This property defines which type of shape is derived from the export.
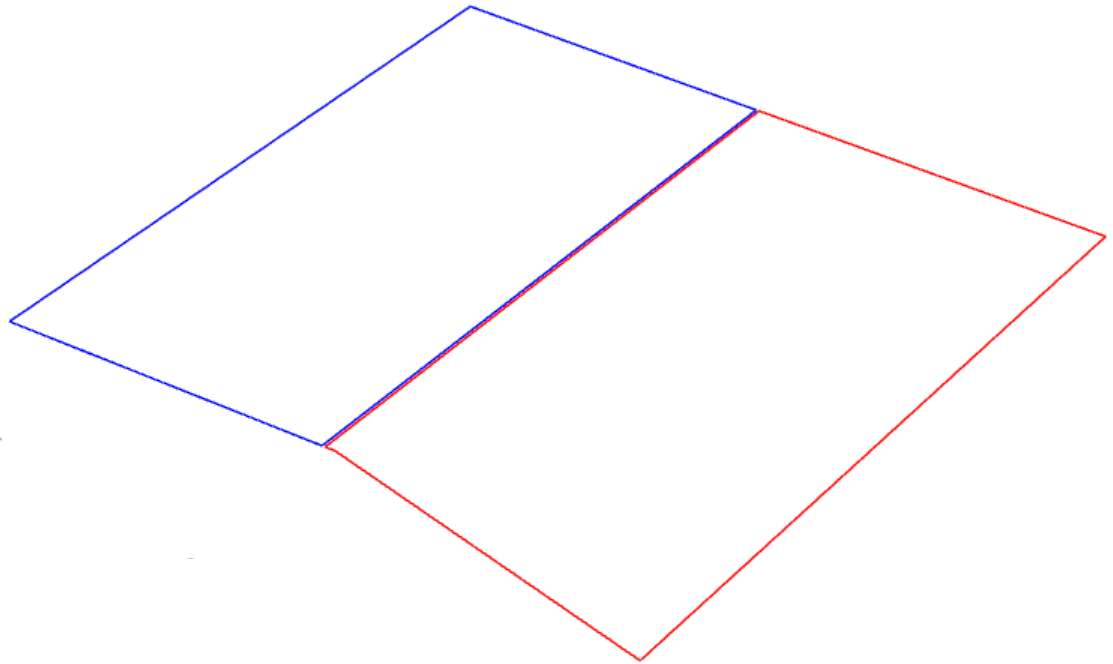
Two designed geometries
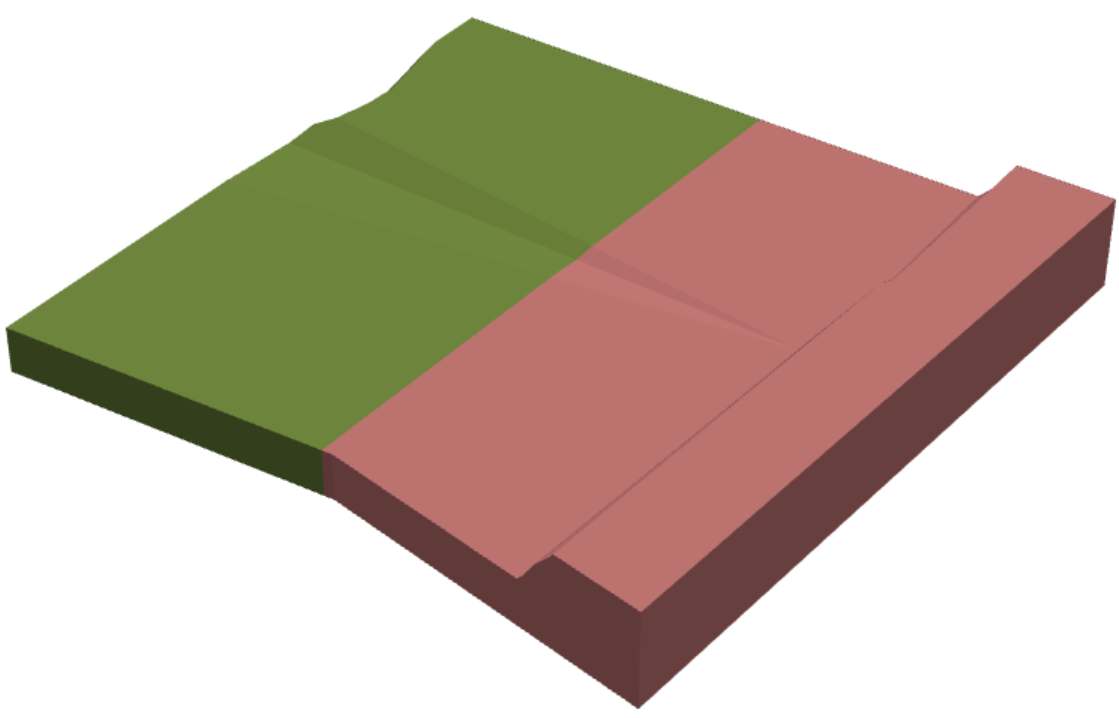
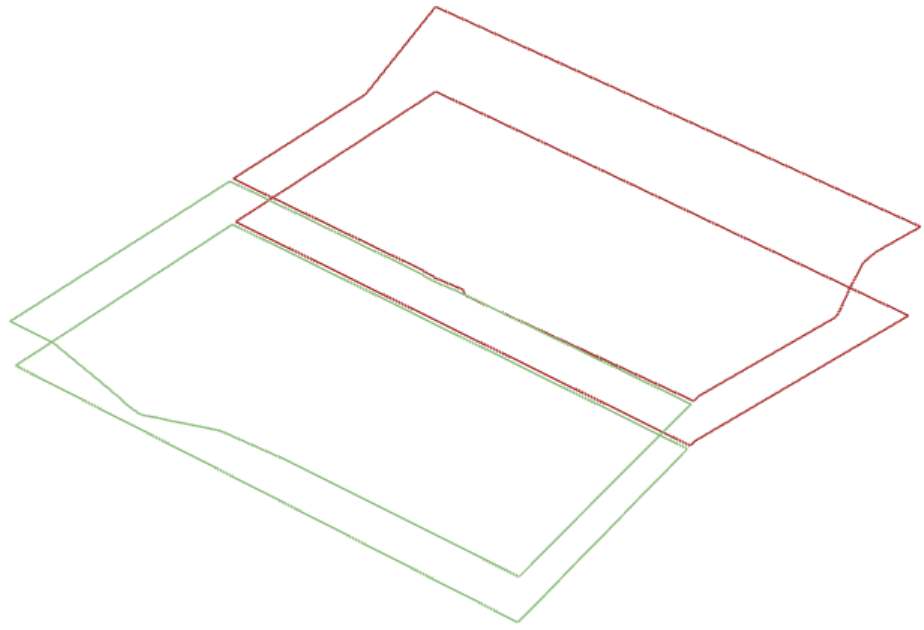
Two reserved geometries
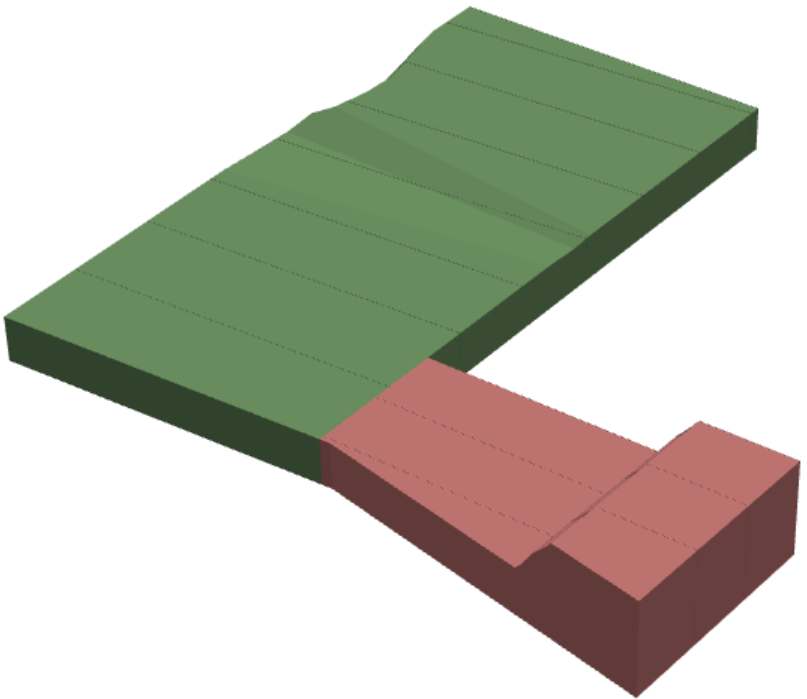
Two scheduled geometries. At this point in the schedule, 100% of the green activity area has been mined, and about 25% of the red activity area has been mined. |
||
|
Spatial Data Type |
For reserved and scheduled geometries, this property defines whether solids or roof and floor polygons are derived from the activity areas.
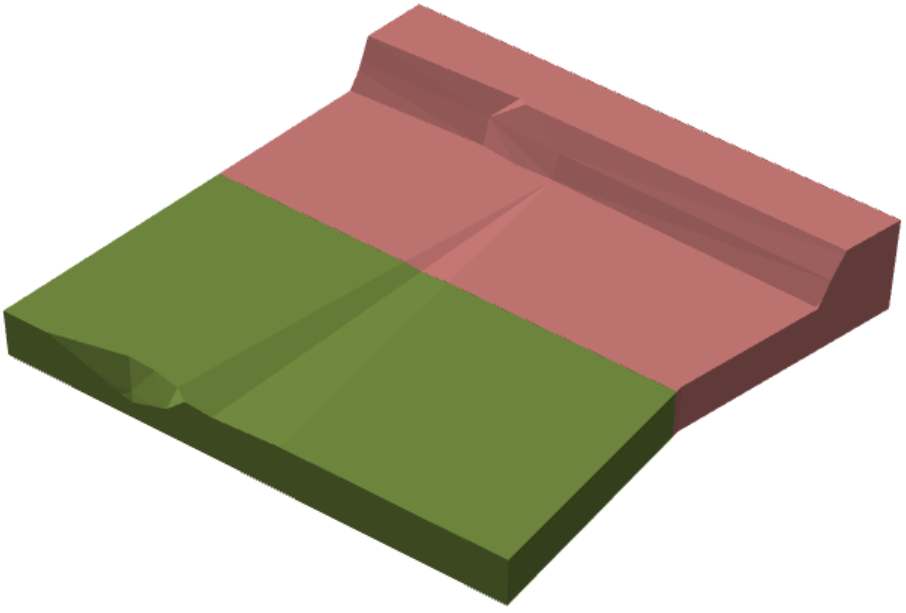
Solids and roof and floor polygons, deriving from the same reserved activity areas |
||
|
Period |
|||
|
These properties apply to scheduled geometries. They define a period range, whereby only the portions of the activity areas, that were mined during the schedule, within the range, are included in the export. You could also select a period group, which groups periods by a common value (like Month1, Month2, Month3, or Week1, Week2, Week3…). |
|||
|
Period Group |
Selects a specific calendar group, which is set up in General and Calendar Settings. A calendar group organises periods by a shared value. The calendar group is a field, and each period contains value of the field. For example, there could be a calendar group field named Week. Each period includes a respective value (Week1, Week2, Week3…). The periods are organised by their shared calendar group values. When exporting a scheduled activity area, the software will merge its slices with other slices that share the same calendar field value. Following the example above, if five slices were scheduled in the first week, the software merges them into a single solid. If you select None, you choose individual periods to define the scheduling period range. |
||
|
First Period |
Defines the first group of periods to include in the scheduling range. |
||
|
Last Period |
Defines the end group of periods to include in the scheduling range. |
||
|
File |
|||
|
File Type |
Defines the type of file that the activity areas will be exported to. |
||
|
Export Method |
Defines whether the activity areas will be exported into multiple files or a single file.
|
||
|
Folder (Multiple method) File Name (Single method) |
Indicates the folder where the exported activity area file or files will be saved. Navigate to and select a file using the File Explorer prompt.
|
||
|
File Name (Multiple method) Layer Name (Single method) |
An expression that defines a naming convention for:
The expression must return a text result. Try to set up an expression that generates unique names. The software appends a unique numeric identifier to identical names. The default expression builds each name by combining various elements in the following order, with underscores separating each element:
To set up the expression, open the expression builder. You can reference fields (such as Mining Level, Pit, Activity, etc.) which returns automatically determined values, and you can use functions to manipulate or format these values as necessary. |
||
Using the Scheduled Geometries option, you can export the scheduled portions of activity areas between a range of periods.

Three exported activity areas. They’re divided into slices, representing the portions of the activity areas that are mined at a given time. The exported portions were scheduled between the selected period range (in this case, Period1 to Period27).
You can also export the activity areas in a similar fashion, grouping them by a shared certain calendar field – defined in the active calendar’s configuration.
The calendar field could be Week, whereby each period includes a field value that corresponds tothe period’s week number.
|
Week |
# |
Name |
Start |
End |
|---|---|---|---|---|
|
Week1 |
1 |
P1 |
8/6/2025 12:00:00 AM |
8/7/2025 12:00:00 AM |
|
Week1 |
2 |
P2 |
8/7/2025 12:00:00 AM |
8/8/2025 12:00:00 AM |
|
Week1 |
3 |
P3 |
8/8/2025 12:00:00 AM |
8/9/2025 12:00:00 AM |
|
Week1 |
4 |
P4 |
8/9/2025 12:00:00 AM |
8/10/2025 12:00:00 AM |
|
Week1 |
5 |
P5 |
8/10/2025 12:00:00 AM |
8/11/2025 12:00:00 AM |
|
Week1 |
6 |
P6 |
8/11/2025 12:00:00 AM |
8/12/2025 12:00:00 AM |
|
Week1 |
7 |
P7 |
8/12/2025 12:00:00 AM |
8/13/2025 12:00:00 AM |
|
Week2 |
8 |
P8 |
8/13/2025 12:00:00 AM |
8/14/2025 12:00:00 AM |
|
Week2 |
9 |
P9 |
8/14/2025 12:00:00 AM |
8/15/2025 12:00:00 AM |
|
Week2 |
10 |
P10 |
8/15/2025 12:00:00 AM |
8/16/2025 12:00:00 AM |
|
Week2 |
11 |
P11 |
8/16/2025 12:00:00 AM |
8/17/2025 12:00:00 AM |
|
Week2 |
12 |
P12 |
8/17/2025 12:00:00 AM |
8/18/2025 12:00:00 AM |
|
Week2 |
13 |
P13 |
8/18/2025 12:00:00 AM |
8/19/2025 12:00:00 AM |
|
Week2 |
14 |
P14 |
8/19/2025 12:00:00 AM |
8/20/2025 12:00:00 AM |
|
Week3 |
15 |
P15 |
8/20/2025 12:00:00 AM |
8/21/2025 12:00:00 AM |
|
Week3 |
16 |
P16 |
8/21/2025 12:00:00 AM |
8/22/2025 12:00:00 AM |
|
Week3 |
17 |
P17 |
8/22/2025 12:00:00 AM |
8/23/2025 12:00:00 AM |
|
Week3 |
18 |
P18 |
8/23/2025 12:00:00 AM |
8/24/2025 12:00:00 AM |
|
Week3 |
19 |
P19 |
8/24/2025 12:00:00 AM |
8/25/2025 12:00:00 AM |
|
Week3 |
20 |
P20 |
8/25/2025 12:00:00 AM |
8/26/2025 12:00:00 AM |
Example calendar periods grouped by the associated week
Exported scheduled portions are grouped by the specified calendar group. In this case, it’s Week. For the given activity area, portions scheduled within the first week are grouped into a single solid, portions scheduled within the second week are grouped into a single solid, and so on.

In this case, the slices within an activity area are grouped by the week they were scheduled in. The group range is Week1 to Week3, meaning that activity area slices can be grouped within up to three weeks.
When grouping the solids, the software recalculates them – removing internal walls to form a clean solid.