The XPAC project repair tool lets you scan and repair discrepancies and conflicts in your project file.
To repair an XPAC project:
| a. | Close the current project. |
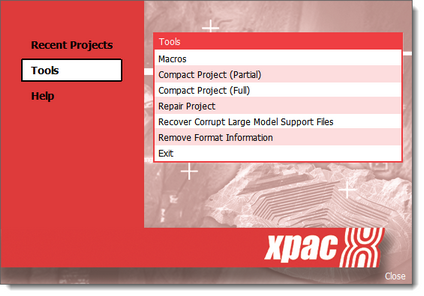
| b. | Open XPAC (without opening a project). |
| 2. | In the XPAC welcome screen, click : |
| 3. | In the Windows Explorer window, navigate to the folder containing the XPAC project that you want to repair. |
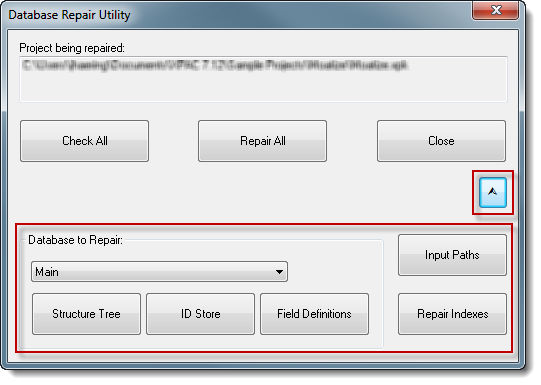
| 4. | Select the project file and click . The window displays. |
| 5. | Specify what you want to do with the project file. Either: |
| a. | Click to scan the project file for discrepancies/conflicts; or |
| b. | Click to repair the discrepancies/conflicts in the project file. |

|
If required, note and follow the instructions that XPAC advises during the scan or repair process.
|
Depending on the button that you clicked, XPAC either:
| • | scans and reports on the status of the project file, or |
| • | repairs discrepancies/conflicts in the file. |
Other options
If required, you can also specify other repair tool options, such as which database, input paths you want to repair, by using the buttons in the window: