Local data rollover
The local data rollover feature moves local values (that is, hard coded values) in period cells into the period column that is twelve months earlier than the source period. The feature will handle mixed period lengths and apportion the source value across multiple target periods, using the number of days in each target period.
The local data rollover feature is typically used after modifying the calendar table to change the starting date of the model forward one year to begin a new budget or forecast cycle.
Below are two examples of how the local data rollover feature will move and apportion values into the target.
Example 1: Monthly data moving twelve periods earlier.

Example 2: Quarterly and annual period data apportioned into smaller periods

The apportionment process takes the source value, divided by the total number of days in all the corresponding target periods, then multiplied by the number of days in the specific target period. So, in the above example, the apportionment calculation for 20,000 in period 17 is:

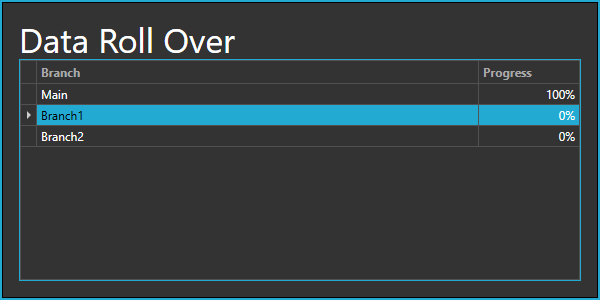
The feature will roll data forward by twelve months in all branches of the model that are set to Active and In Progress. All other branch states, for example, Under Review, Authorised and Approved, or deactivated branches, will not be included as these branches are set to read-only to ensure data is not edited.
The local formulas (equations, special variables, or XERAS functions) will remain in position in the source columns. The feature will only shift hard-coded numbers in period columns.
Run a local data rollover
The local data rollover feature only runs in Construct mode. We highly recommend that you synchronise your live data from Use mode to Construct mode, using Model Data Transfer, prior to running this feature.
To run the local data rollover feature:
-
Open the model in Construct mode.
-
From the menu, click Data Management.
-
Click
 next to Local Data Rollover.
 -
Click Start Rollover.
-
In the message window, click Yes to proceed or No to abort the process.
-
In the browse window, select a folder where the report files will be stored during the process.
The Data Roll Over window displays the progress of each branch.
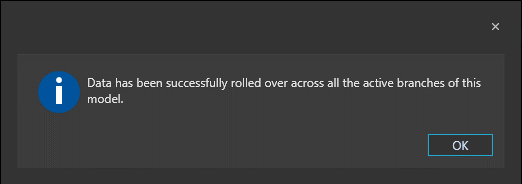
A message window displays when the rollover is complete.
-
Click OK.
Two reports for each branch will be stored in the selected folder. One report file containing the local data before the rollover, and a second report containing the local data after the rollover is completed, allowing you to compare the results of the process.
The model must now be published from Construct to Use mode to ensure the data rollover is migrated to the live model.