Clipping sections of a spatial data plot |

|

|
|
Clipping sections of a spatial data plot |

|

|
Use the clipping tool on the 3D Graphics toolbar to temporarily remove sections of a spatial data plot, for example, if you want to look at a cross-section of your deposit.
| 1. | Click Clipping Section on the 3D Graphics toolbar. |
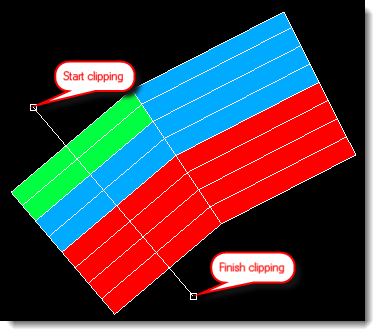
| 2. | Mark the start and finish points for the clipping in the 3D Scene: |
| a. | Click the point where you want to start the clipping. |
| b. | Click the point where you want to finish the clipping: |

|
If required, press Esc to undo the clipping selection. |
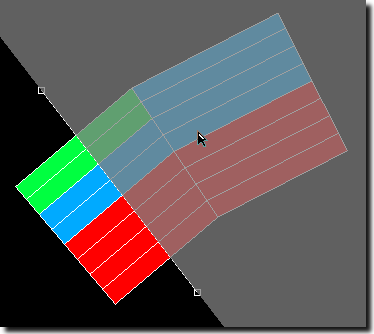
| 3. | Click on the side of the line that you want to temporarily remove, for example: |

XPAC temporarily removes the section from the spatial data plot.

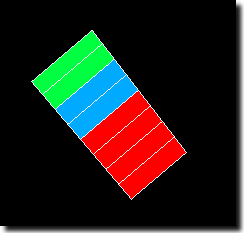
If required, you can now rotate the plot so that you can view it from another angle, for example, as a cross-section:

|
To undo clipping sections, click Clear Clipping Sections on the 3D Graphics toolbar. |
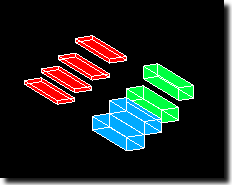
If required, you can also set the 3D Scene to clip feature layers that display in the plot.
|
By default, this setting is not enabled. |
| 1. | Select View > Feature Layers. The Edit Feature Layers window displays. |
| 2. | Select a layer in the tree structure. |
| 3. | In the Layer Properties section, select the Layer clipped by clipping planes check box. |