Stage plans are commonly used to export surface and face position spatial data from XPAC into various geological packages.
In XPAC, a stage plan is a triangulated surface or grid surface that represents the face position of the mine at a particular point in the schedule. These are useful in displaying mining progression throughout the schedule. Additionally these surfaces can be used to cut a block model or reserve solids to determine the portion remaining at the time the stage plan relates to. This makes it easier to use a detailed short term schedule to define the starting point of a longer term schedule.
XPAC exports the stage plan/s as specified. The stage plan will be constructed from the upper surface of all the shaded blocks displayed in the plot, as the following diagram illustrates:
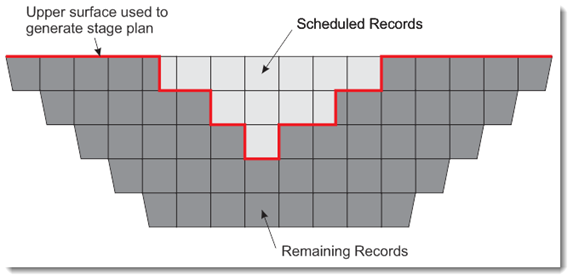
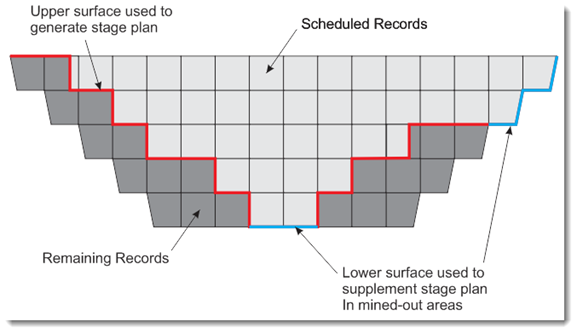
If there are regions of the plot where records are unshaded (Ex: mined out areas in mine status plots), the lowest surface of the unshaded records in these regions will be added to the stage plan, rather than leaving a surface that is incomplete and contains holes. This process is illustrated in the following diagram:

|
The Hide Unshaded Objects option is commonly used with Mine Status plots so that mined out blocks are completely removed. RPM recommends not using the Hide Unshaded Objects option when using mine status plots to generate stage plans, as records will be removed from the plot altogether (rather than being displayed without shading) and their lower surface will not be included in the stage plan.
|

|
You can only use Mine Status plots to export stage plans. Otherwise you can export all other plot types as images.
|
To export stage plans:

|
Ranges can be used in the plot window to limit the area over which the stage plan will be created.
|
| 2. | Select File > Export > Stage Plans. The Export Stage Plans window displays. |
To export a single stage plan:
| i. | Select Export Single Stage Plan at the Current Point in the Mine Status Plot. |
| ii. | If you do not want to append the period name or date and time to the file or feature layer name, select the Ignore Naming Convention check box. Otherwise, the option specified in the Naming Convention field will be used. |

To export multiple stage plans:
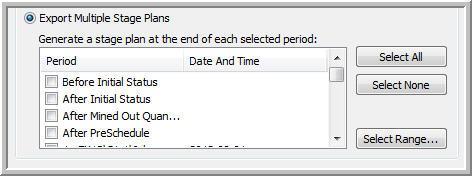
| i. | Select Export Multiple Stage Plans. |
| ii. | Select the check box of each period that you want to include. Otherwise, click Select All. |
| iii. | If required, create a new range of periods by clicking Select Range. The Select Range window displays. Click Ranges. The Range Selection window will display, allowing you to create, edit, rename, copy and delete calendar database ranges. See Range Selection window for more information. |
| 4. | Select the Naming Convention that you want to use from the drop-down list, for example, Append Full Period Name. |


|
Using a naming convention ensures that each stage plan has its own unique name and can be identified at a later stage.
|
| 5. | Specify where you want to export the stage plan to. |
To save the stage plan to a file:
| ii. | Select the file name/path by clicking Browse. An Export Stage Plans window displays. |
| iii. | Navigate to the folder in which you want to save the stage plans. |
| iv. | Specify the export format for the file in the Save as type drop-down list. |

|
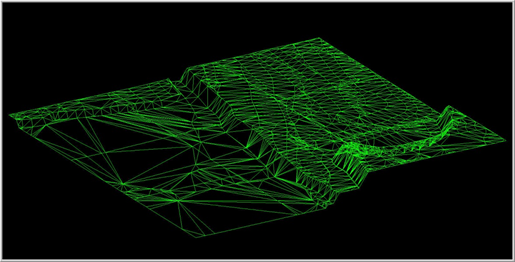
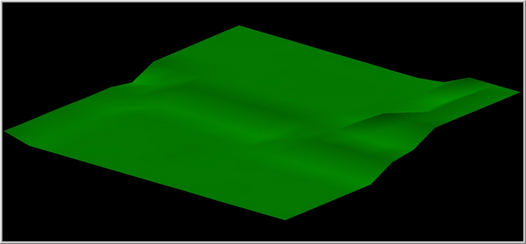
If you do not select the Export As Grid check box, XPAC exports the stage plan as a triangulated surface.
|
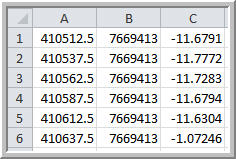
Type of export formats are:
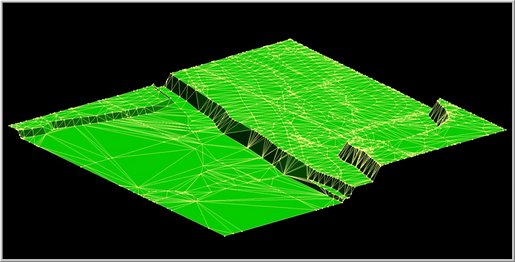

|
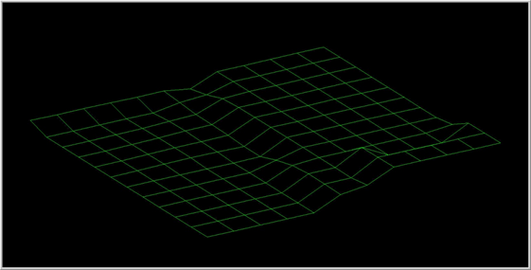
When the Export As Grid check box is selected XPAC exports the surface as a gird based on the selected cell size. See Export As Grid for more information.
|
Type of export formats are:
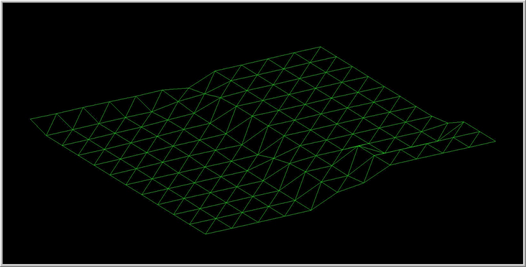
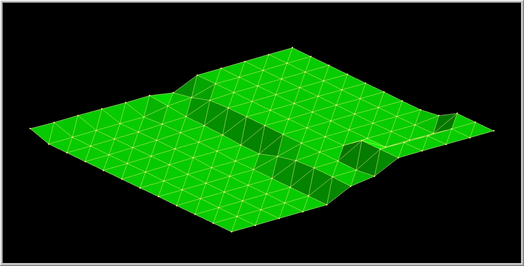
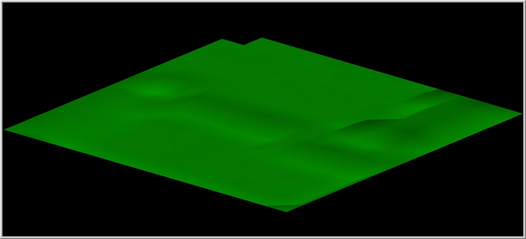
| v. | Type a name for the file. |
To save the stage plan to a feature layer:
| ii. | In the Name field, either: |
Select an existing feature layer (It will overwrite the existing feature layer); or
Type a new name
| • | If the Ignore Naming Convention check box is selected, the maximum length of the feature layer name is 50 characters |
| • | If you do not select the Ignore Naming Convention check box, the maximum length of the feature layer name is 50 characters minus the Naming Convention, for example, Append Full Period Name, Before Initial Status, or After Initial Status |


